VUE、Elementui、Code的创建和使用 npm install 不然报错 web package dev server
1、打开vscode的终端ctrl+`;
6、取消报错的红线
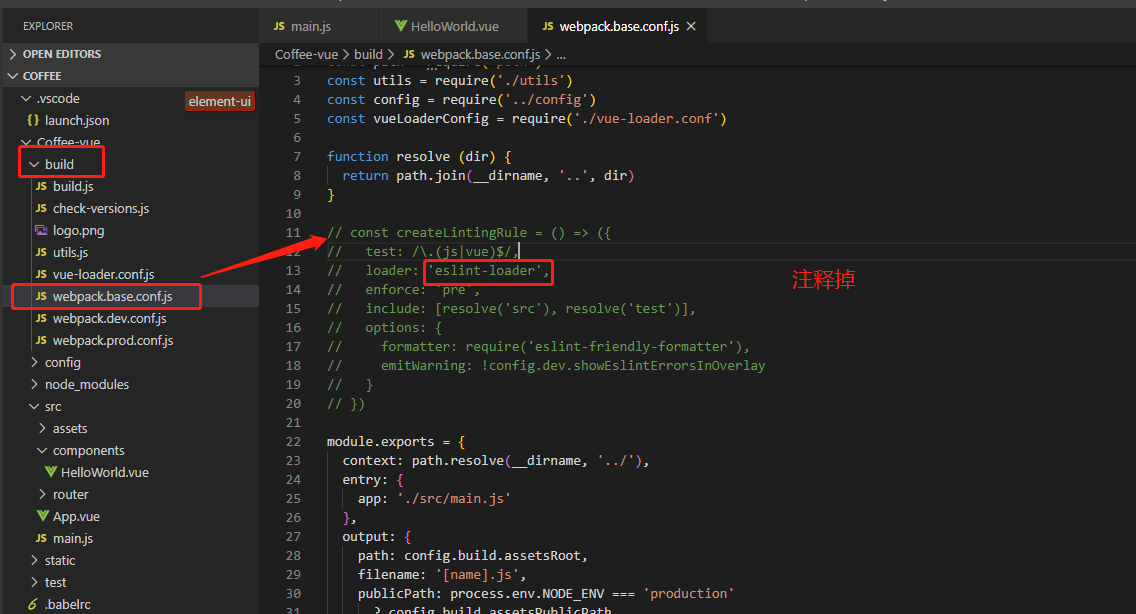
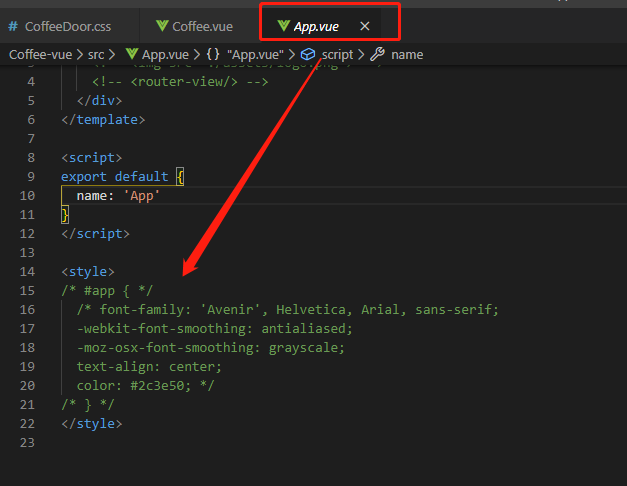
7、
需要将其注释掉不然会在页面中有其效果
9、
1
2
3
4
5
6
7
8
9
10
11
12
13
14
<img class="menu" v-on:click= "flag=!flag" :src="flag?menupic:crosspic">
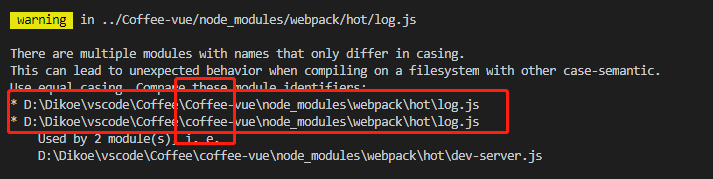
10、注意进入cd Coffee-vue必须要和文件名保持一致
不然会报错
1
2
3
4
5
6
7
8
9
10
11
12
13
14
15
16
17
18
19
20
21
22
23
24
25
<!--卡片走马灯-->
12、npm run build编译后的提示 需要将文件夹直接放置在服务器上 不影响
1
2
Tip: built files are meant to be served over an HTTP server.
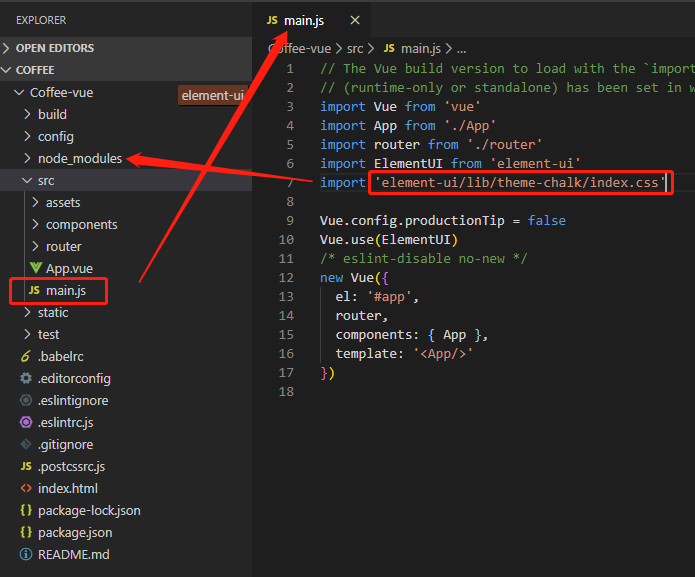
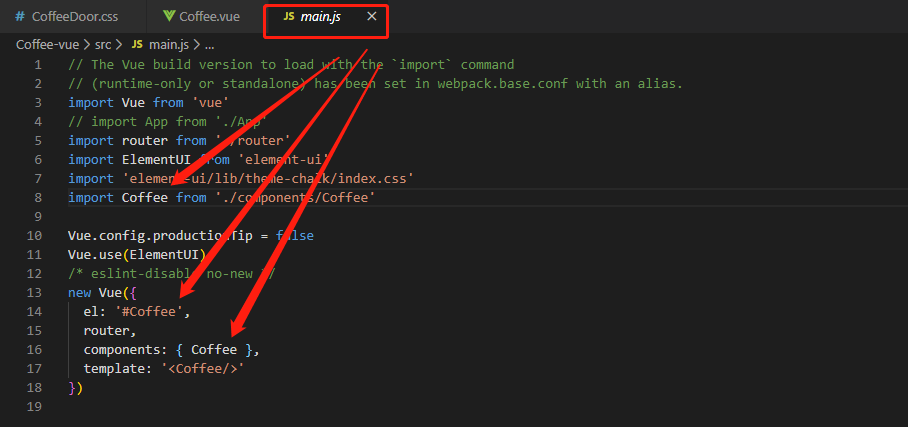
13、 main.js的内容
1
2
3
4
5
6
7
8
9
10
11
12
13
14
15
16
17
import Vue from 'vue'
index.html的内容为空
14、页面刷新的使用(在App页面中做定义)
1
2
3
4
5
6
7
8
9
10
11
12
13
14
15
16
17
18
19
20
21
22
23
24
25
26
27
28
29
30
31
32
33
34
35
36
37
38
39
40
41
42
43
44
45
46
47
48
49
50
51
52
53
54
55
56
57
58
59
60
61
62
63
64
65
66
67
68
69
70
71
72
<template>
15、局部Loading
1
2
3
4
5
6
7
8
// 打开loading
16、Vue-ElementUI-Admin框架的下载安装
git:https://github.com/PanJiaChen/vue-element-admin.git
下载node-sass:
npm config set sass_binary_site=https://npm.taobao.org/mirrors/node-sass
ssh设置:$ ssh-keygen -t rsa -C ‘2545664565@qq.com’
npm run dev